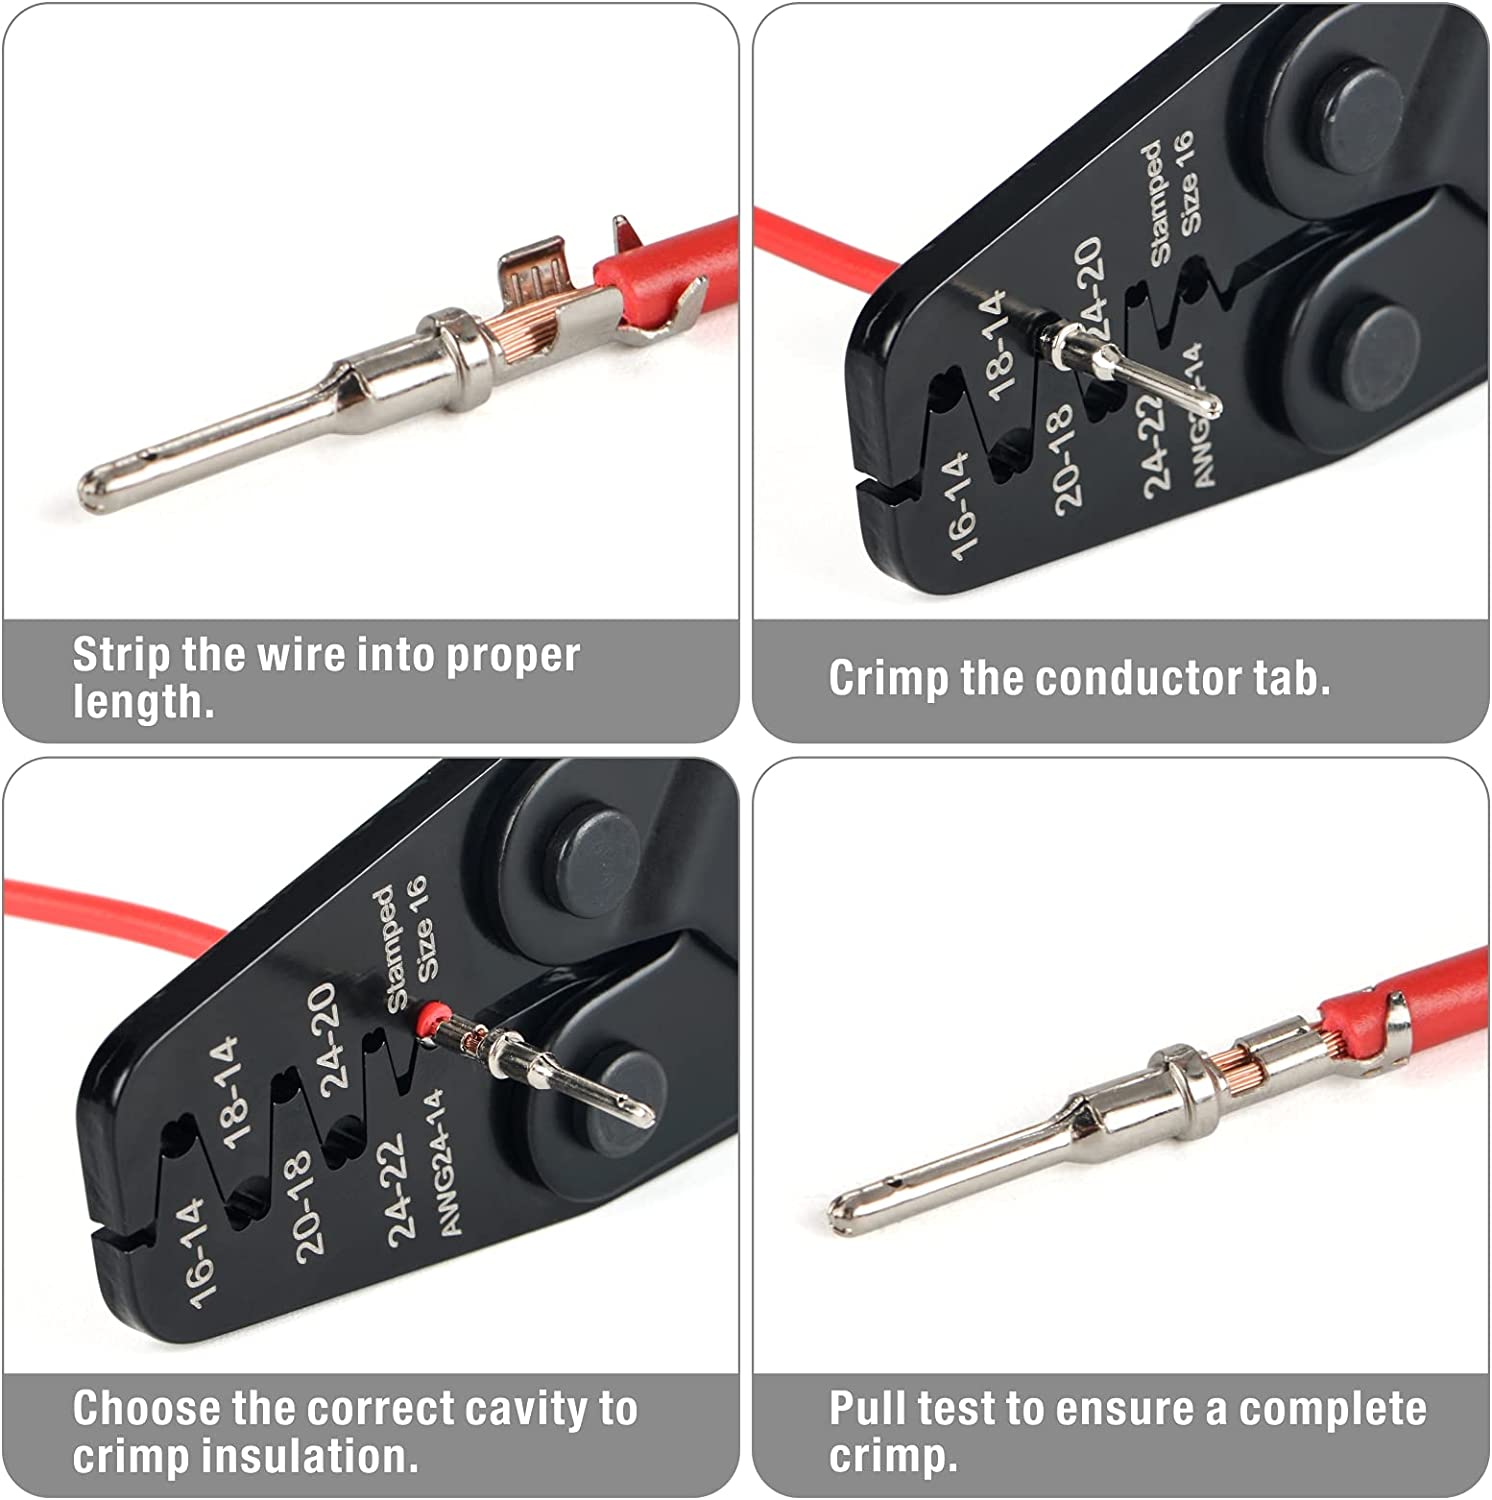
Building and crimping automotive electrical connectors are vital skills for anyone working with vehicle wiring systems. Whether you're an automotive enthusiast or a professional technician, understanding the proper techniques for creating secure and reliable connections is crucial. In this blog post, we will explore the step-by-step process of building and crimping automotive electrical connectors, highlighting key considerations and best practices along the way.
1. Gathering the Necessary Tools and Materials:
Before you embark on your connector-building journey, it's essential to have the right tools and materials at hand. Here's a list of items you'll need:
- Automotive electrical connectors (appropriate for your specific application)
- Wire strippers
- Crimping tool (preferably one designed for automotive connectors)
- Heat shrink tubing or electrical tape
- Heat gun or lighter (for heat shrink tubing)
- Wire cutter or sharp scissors
- Electrical wire (matched to the gauge of your connectors)
- Wire crimp terminals (matched to your wire gauge and connector type)
- Needle-nose pliers (optional but useful for precise crimping)
2. Preparing the Wires:
To begin, carefully measure and cut the electrical wires to the desired length, ensuring that they reach the appropriate connectors or terminals. Use wire strippers to remove the insulation from the ends of the wires, exposing the bare conductors. Take care not to cut or damage the wire strands during the stripping process, as this may weaken the connection.
3. Choosing and Installing the Correct Crimp Terminal:
Selecting the right crimp terminal is essential for creating a secure and reliable connection. Consider the type and size of the terminal that matches your automotive connector and wire gauge. Insulated terminals provide added protection against electrical shorts and corrosion. Once you have chosen the appropriate terminal, slide it onto the stripped end of the wire, ensuring a snug fit.
4. Proper Crimping Technique:
Crimping is the process of securing the terminal onto the wire using a crimping tool. Follow these steps for a successful crimp:
a. Position the terminal and wire within the designated crimping section of the tool. Ensure that the terminal and wire are correctly aligned.
b. Squeeze the handles of the crimping tool firmly and evenly, applying enough pressure to create a secure connection. Avoid over-crimping, as it may damage the terminal or wire.
c. After crimping, gently tug the wire to ensure that the connection is secure. If it slips or feels loose, recrimp it using the appropriate force.
5. Insulating the Connection:
To protect the connection from moisture, vibrations, and potential short circuits, it's crucial to insulate it properly. There are two common methods for insulating automotive electrical connectors:
a. Heat Shrink Tubing: Slide a suitable length of heat shrink tubing over the crimped connection. Use a heat gun or lighter to evenly apply heat to the tubing, causing it to shrink tightly around the terminal and wire. This creates a watertight seal and added mechanical strength.
b. Electrical Tape: Wrap several layers of high-quality electrical tape tightly around the crimped connection, extending a few inches beyond the terminal ends. Ensure that the tape adheres securely and covers the entire exposed metal area.
6. Testing and Validation:
After completing the crimping process, it's crucial to test the connections for continuity and ensure that they are secure. Use a multimeter to measure the resistance between the terminals and verify that there are no open circuits. Additionally, perform a visual inspection to confirm that the insulation is intact and that the connectors are firmly attached.
Conclusion:
Building and crimping automotive electrical connectors require precision, attention to detail, and the
Building and Crimping Automotive Electrical Connectors


